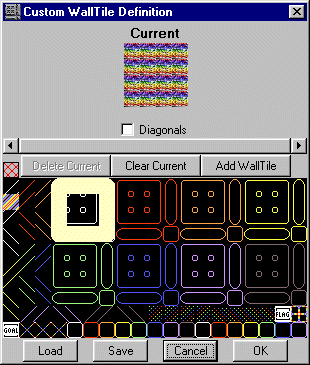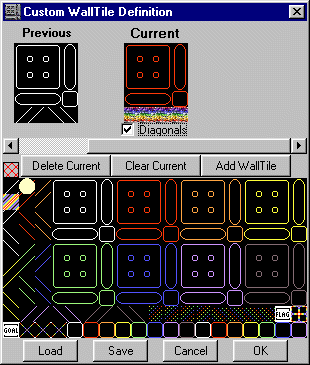
The main idea behind WallTiles: draw with one color, FACTS uses the appropriate tile. (With diagonals, that means 1 color in the bitmap gives up to 20 different tiles in the .lvl.) In the WallTile dialog, the tiles are laid out like this:
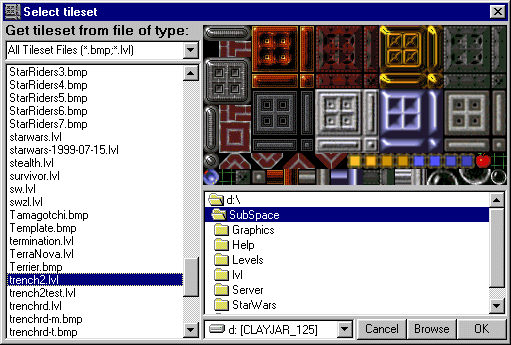
When "Use WallTiles" is checked, the "Select Tileset" dialog box will pop up after you select the file to "Re-Link", "Convert", or "Deconvert". Choose the tileset for the map you're working with. (You have to select the tileset so it can be displayed in the WallTile dialog.
The tileset you have selected will appear at the bottom of the WallTile definition dialog. If you haven't loaded a WallTile definition since you started FACTS, there will only be one blank WallTile.
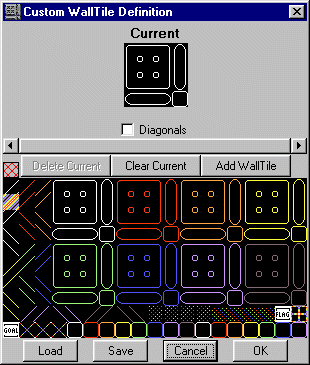
You can select multiple tiles by dragging a box around the tiles you wish to select.
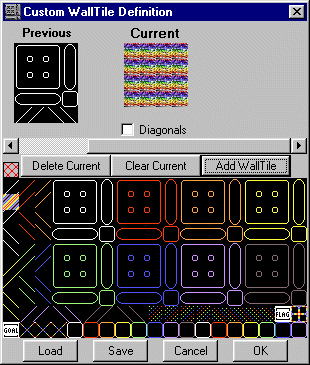
The selected tiles will be pasted wherever you click in the current WallTile. If you selected multiples, they will be pasted below and to the right of the clicked tile. (In this shot, the selected tiles from the previous picture were pasted by clicking the top, leftmost tile in the Current WallTile.)
Once you have completed a WallTile, you can add another (which is always added immediately after the currently selected WallTile).
Diagonals are selectable on a per-WallTile basis.